
Most people regularly clean the toilet bowl, the seat, and the area around the toilet. However, the toilet cistern often gets overlooked. Yet, it plays a crucial role in the overall flushing mechanism. Over time, limescale, dirt particles, and even biofilm can accumulate inside. These deposits not only affect the flushing performance but can also lead to increased water usage and annoying noises during refilling.
The good news is that you can easily clean the cistern yourself. It’s neither complicated nor expensive, and it makes a significant difference. Regular descaling extends the lifespan of the internal components and ensures a hygienic, smoothly functioning flush.
In this guide, you’ll learn how to clean your toilet cistern step by step. We’ll cover how to turn off the water correctly, identify the components inside, and effectively remove limescale and dirt. Plus, you’ll get tips for regular maintenance to avoid future issues and improve the functionality of your toilet flushing system. Let’s get started!
Why Clean the Toilet Cistern?
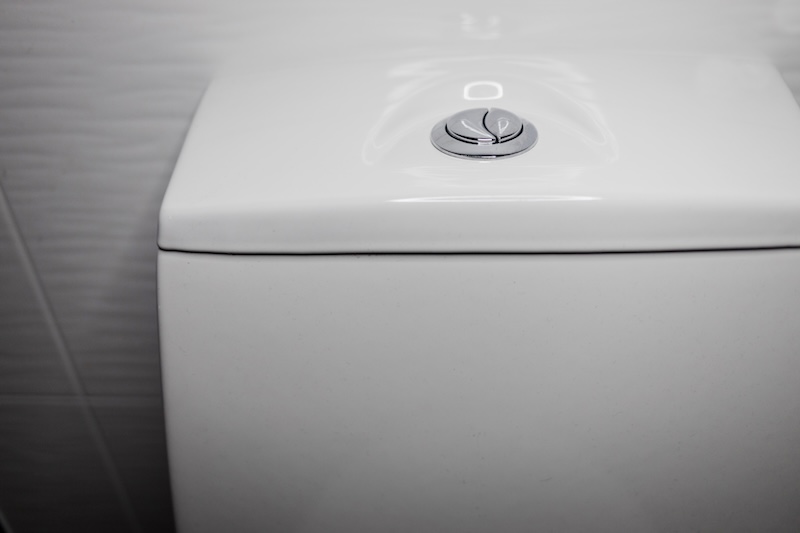
Many toilet flushing problems originate inside the cistern, yet it often gets neglected during toilet cleaning. These issues often go unnoticed until the flushing performance declines or damage occurs. Cleaning early saves you time, money, and hassle in the long run.
A clean cistern not only ensures reliable flushing but also promotes hygiene in your bathroom. Here are the key reasons why regular cleaning is a smart move:
- Deposits from limescale, urine scale, and dirt particles: Depending on your region, tap water contains varying amounts of limescale. Over time, minerals, rust, or small sediment particles from the water can settle at the bottom, on valves, or on seals. Urine scale can also form in older cisterns, especially with low flow rates.
- Function limitations due to dirt: Clogged or calcified valves often result in weak flushing or constant water running. Some cisterns fill up very slowly after flushing, and gurgling noises during refill indicate deposits.
- Hygienic risks from biofilm and germs: A thin biofilm can quickly form in damp environments. Initially invisible, it provides an ideal breeding ground for bacteria and mold spores. The moist inner wall of a cistern is particularly susceptible to this, especially if it hasn’t been used for a while.
- Environmental and cost factors due to increased water consumption: Even a slight leak can waste several liters of water daily. If the cistern is blocked by limescale or constantly running, your water bills will rise significantly. A thorough cleaning can quickly resolve this issue.
Not sure how to clean your toilet cistern? Alternatively, you can hire a household helper. Experienced cleaners can take care of not only your toilet cleaning but also your cistern during a thorough cleaning session.
Clean Your Toilet Cistern in 5 Simple Steps
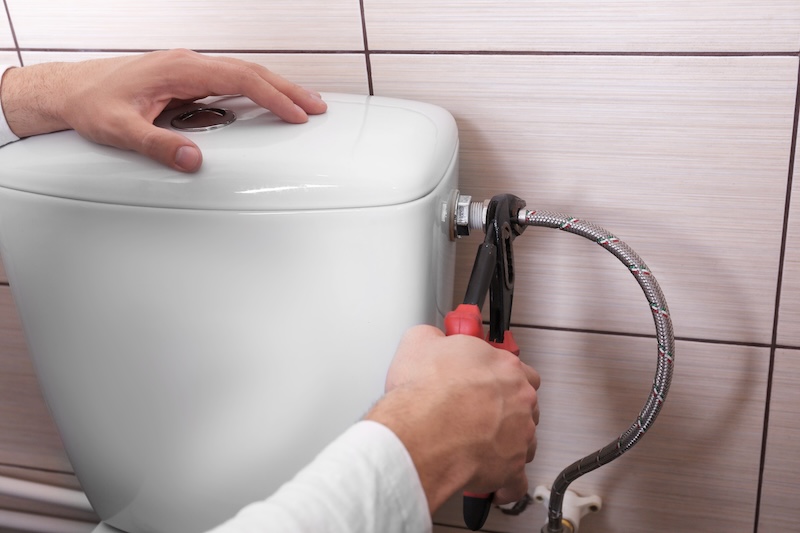
Now that you understand why cleaning the cistern is so important, let’s get to work. Don’t worry; you won’t need any expensive specialized tools. With a bit of preparation and the right approach, cleaning will be quick and easy.
Before You Start, Gather the Following Items:
- a bucket or large bowl
- a soft cloth or rag
- an old toothbrush or a small cleaning brush
- a household sponge
- vinegar cleaner or citric acid
- optional: a bathroom or faucet descaler
- rubber gloves (recommended for sensitive skin)
- a towel or cloth for underneath
Once you have everything ready, you can begin. Depending on the condition of the cistern, plan for about 30 to 45 minutes.
1. Turn Off the Water and Open the Cistern
First, turn off the water supply. Usually, the shut-off valve is next to or underneath the cistern. Flush once to empty the cistern. Then, carefully remove the lid and set it aside.
Tip: If the lid is stuck, a gentle lever with a wooden spoon can help. Avoid using screwdrivers or metal tools, as they can damage the plastic.
2. Initial Cleaning: Remove Dirt, Deposits, and Residues
Now it’s time to get practical: Wipe the inner walls with a damp cloth. Remove visible deposits, loose particles, and any dirt rings.
- Use a sponge to soak up any remaining water.
- Work thoroughly but gently, as you don’t want to scratch the plastic.
- Don’t forget to check under the float and in hard-to-reach corners where residues often collect.
3. Descale and Clean Components
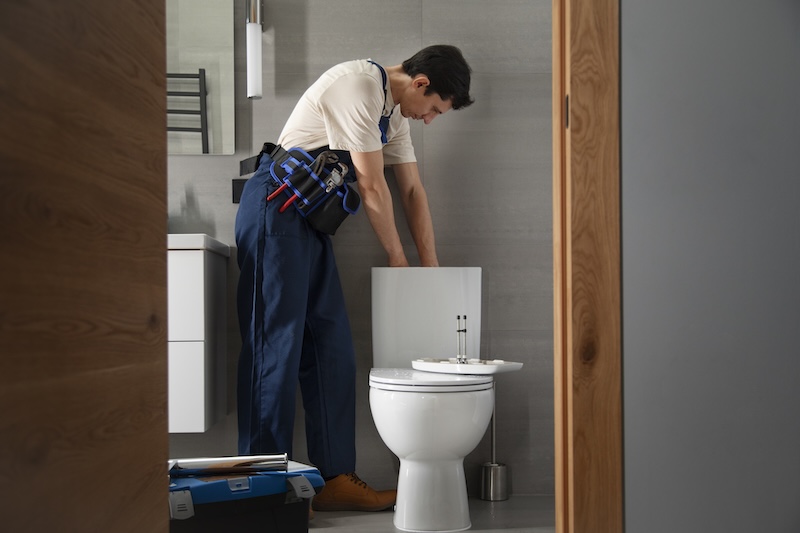
Many modern cisterns can be disassembled without tools. Carefully remove:
- the float
- the fill valve
- if applicable, the flush bell or flushing mechanism
Place these parts in a bowl with lukewarm citric acid solution or diluted vinegar cleaner. Let them soak for about 15 minutes, which is usually enough to dissolve the limescale.
Important: Rubber seals and movable plastic parts should not soak for too long. Instead, rinse them briefly and wipe them clean with a damp cloth and some cleaner.
If there is heavy limescale buildup, a specialized descaler for bathroom fixtures can help. Be sure to follow the manufacturer’s instructions and check material compatibility.
4. Fine Cleaning: Clean Nozzles, Openings, and Hard-to-Reach Areas
Now focus on the flushing mechanism and overflow openings:
- Use an old toothbrush for tight spaces
- Check if the small openings of the flushing fixture are clear
- If necessary, gently insert a pipe cleaner or cotton swab
Also, check the seal around the fill valve
Once everything is clean, rinse all parts thoroughly under clear water. Residues from cleaners or acids must not remain in the cistern, as they can damage materials over time.
5. Reassemble, Test, and Seal
Now, put all the components back in place. Ensure the float and fixture are positioned correctly. If a seal was damaged during cleaning, it’s best to replace it right away.
- Close the cistern
- Open the water supply again
- Perform a test flush
- Listen carefully: Is everything sealed? Is there gurgling? Does the cistern stop filling?
If everything is functioning normally and there are no leaks, you’ve successfully cleaned the cistern.
And if you’d prefer to leave the cleaning to the professionals, a qualified household helper can assist you. Many cleaning staff also offer thorough cistern cleaning as part of a comprehensive bathroom cleaning. On Helpling, you can find a cleaning professional who can clean both your cistern and your showerhead properly.
What Household Remedies Help Clean the Cistern?
In fact, numerous household remedies can effectively and gently clean your cistern. This not only extends the lifespan of the components but also saves water and costs. Here are the best household remedies for cleaning your cistern and how to use them:
Vinegar: A Proven Helper Against Limescale
Vinegar is a true multitasker when it comes to cleaning the cistern. It effectively dissolves limescale deposits and ensures water can flow freely again. Plus, vinegar is eco-friendly and inexpensive, making it a sustainable choice for your home.
- Application: Dilute vinegar and pour it into the cistern or soak individual components like the float and valves in a vinegar solution. Be careful not to soak the seals for too long, as they can become brittle.
Citric Acid: Strong Against Stubborn Limescale
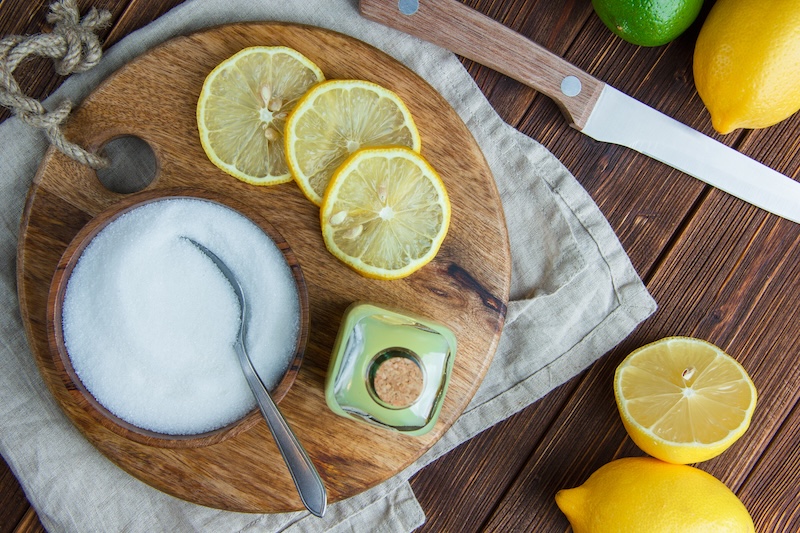
Especially with hard water, limescale can quickly leave solid deposits. This is where citric acid shines. It thoroughly removes mineral residues without damaging sensitive parts.
- Application: Dissolve citric acid powder in warm water and apply the solution directly to the affected areas. Again, avoid prolonged contact with rubber parts to prevent damage.
Baking Soda and Vinegar: Clean with Caution
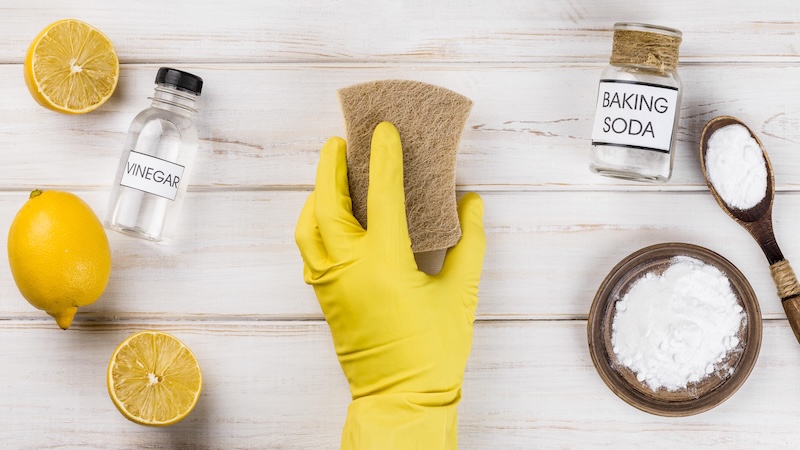
The combination of baking soda and vinegar creates a bubbling reaction that can loosen dirt and deposits. However, this mixture should only be used sparingly in the cistern.
- Application: This method is best suited for the toilet bowl, where it can also neutralize odors and resolve minor clogs.
Is Your Cistern Calcified? Here’s How to Prevent It
A calcified cistern affects functionality and often leads to increased water consumption. To avoid this, it’s worth taking preventive measures regularly. Here are the key tips to help you keep limescale deposits at bay:
- Conduct a monthly check. Take the opportunity while cleaning to peek inside the cistern and spot any early deposits.
- Descale the cistern once or twice a year, especially if you live in an area with hard water. This prevents limescale from settling.
- Check the limescale filter at the corner valve or directly in the household water line. A functioning filter significantly reduces the amount of limescale in the water.
- Adjust the float correctly to avoid unnecessary flushing. A properly set float ensures the right water level in the cistern and prevents excess consumption.
- Occasionally empty the cistern. This helps prevent the formation of biofilm, which can lead to unpleasant odors and deposits.
Conclusion
Cleaning the cistern is often an underestimated but essential part of bathroom hygiene. With just a few simple steps, you can improve flushing performance, reduce limescale buildup, and protect your toilet from costly damage. You don’t need specialized tools or expensive cleaners to do it. Regular cleaning extends the lifespan of the components, saves water, and enhances hygiene.
Utilize the step-by-step guides and household remedies provided to thoroughly and gently clean your cistern. Also, pay attention to preventive measures, such as regular checks and descaling, to avoid unpleasant surprises.
If you’re unsure or prefer to leave the cleaning to someone else, a skilled household cleaner is a great alternative. Many cleaners also take care of cistern maintenance as part of a thorough bathroom cleaning. This way, your bathroom stays clean and functional, without any stress for you. Regular care pays off, and your cistern will thank you.